The challenge
Farmers need to plant seeds for crops early in spring but cold weather kills seedlings. Farmers are looking for ways to protect seedlings from the cold, and to grow them more quickly. They need your help to design, make and test a seed propagator.
Step 1: time to do some research
Questions you might like to answer to help you with the rest include:
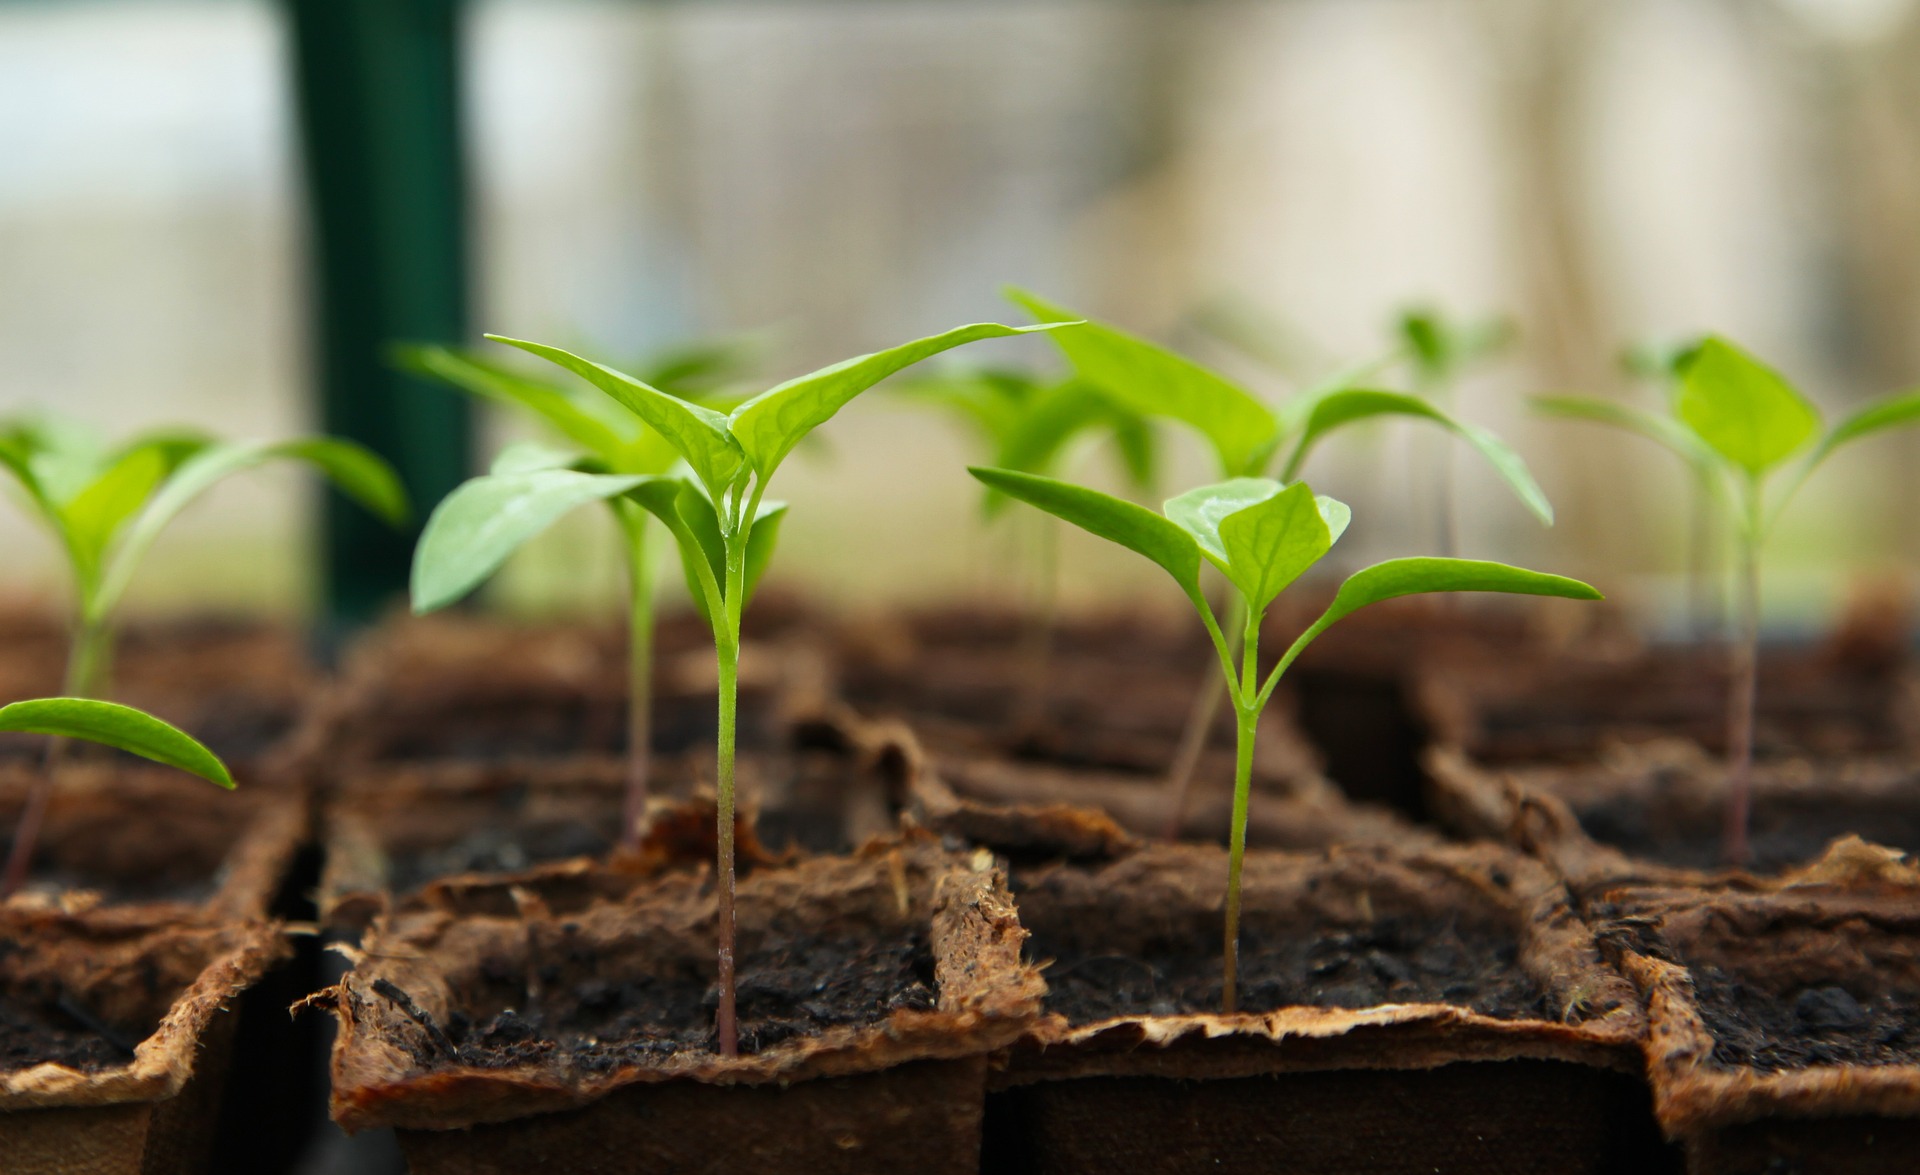
- What is a plant propagator?
- What do seeds need to germinate?
- What do plants need to grow healthily?
You could also log onto the computer or charge up your iPad for some research. Try using search terms such as ‘propagator images’, ‘germination’, ‘heathy plants’.
Step 2: time to design your propagator
Use your learning to design your propagator. Think about the recycled materials you have at home that you could use to make it. Check out the inspiration station for some ideas. You might like to make two or three designs and then choose the one you think will work best. Check your chosen design has all the features it should have: removable transparent top, air vents, waterproof bottom tray and tall enough for plants to grow.
Equipment which you might need
- Clear plastic drinks bottles
- Thermometers or datalogger with temperature sensors
- Plastic food packaging trays
- Scissors
- PVA glue
- Polythene
- Plastic bubble wrap
- General purpose potting compost
- Superfood seeds (broccoli, sunflower and watercress)
Inspiration Station
We ask Chief Education Manager Josh Payne us about his Propagator design.
Tell us about your design…
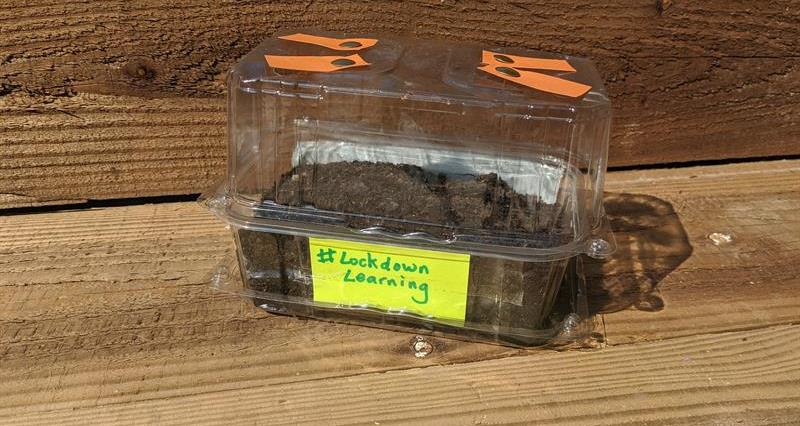
I like to call it the professional plant propagator v1.0 or the PPP for short. It has a section at the bottom to plant seeds and a lid to trap warm air and allow sunlight in. We had a few radish seeds at home which I’ve planted. These are great because they grow quickly and the propagator makes them grow even faster!
What features does it have?
I’ve made a nice clear lid at the top so sunlight can get in and also made some little vents to that air can circulate as in my experience radishes don’t like it when it’s too humid. I also wanted to use a clear base so I can hopefully see my plants roots as they grow but that’s not essential (it’s a bonus feature!).
What did you use to make it?
To make my propagator I used a grape carton, a strawberry carton, some cellotape, some coloured card, 4 drawing pins and some potting compost.
How would you improve it?
Next time I would make my vents out of something other than cardboard as I’m a bit worried about them if it rains. Maybe I could do a science investigation to find out which materials are the most waterproof…
Any final top tips?
Remember to water your plants! Even if they’re outdoors they won’t get any rain because of the lid. If you’ve not got any seeds why not try and save some from fruits or vegetables you’re eating this week - there are lots of tutorials on Youtube and Pinterest.
Step 3: time to make your propagator
Use your research and things you have learnt from the presentation to design your propagator. Think about the materials you will use to make it. The images below might give you some ideas. Don’t forget to think about what seeds you will grow inside the propagator too!


Step 4: time to grow!
Next, plant some seeds and wait for them to germinate and grow into seedlings. You might like to grow some seeds in another pot so you can compare which seeds grow faster.
Step 5: evaluate your design
Think about how quickly your seeds germinated and how healthy they look compared with those outside the propagator. How easy is it to operate the ventilator, water the seedlings and avoid overwatering? How might you improve it if you made it again?